How To
How to Inspect & Repair Vehicle Rust: Step-by-Step Guide
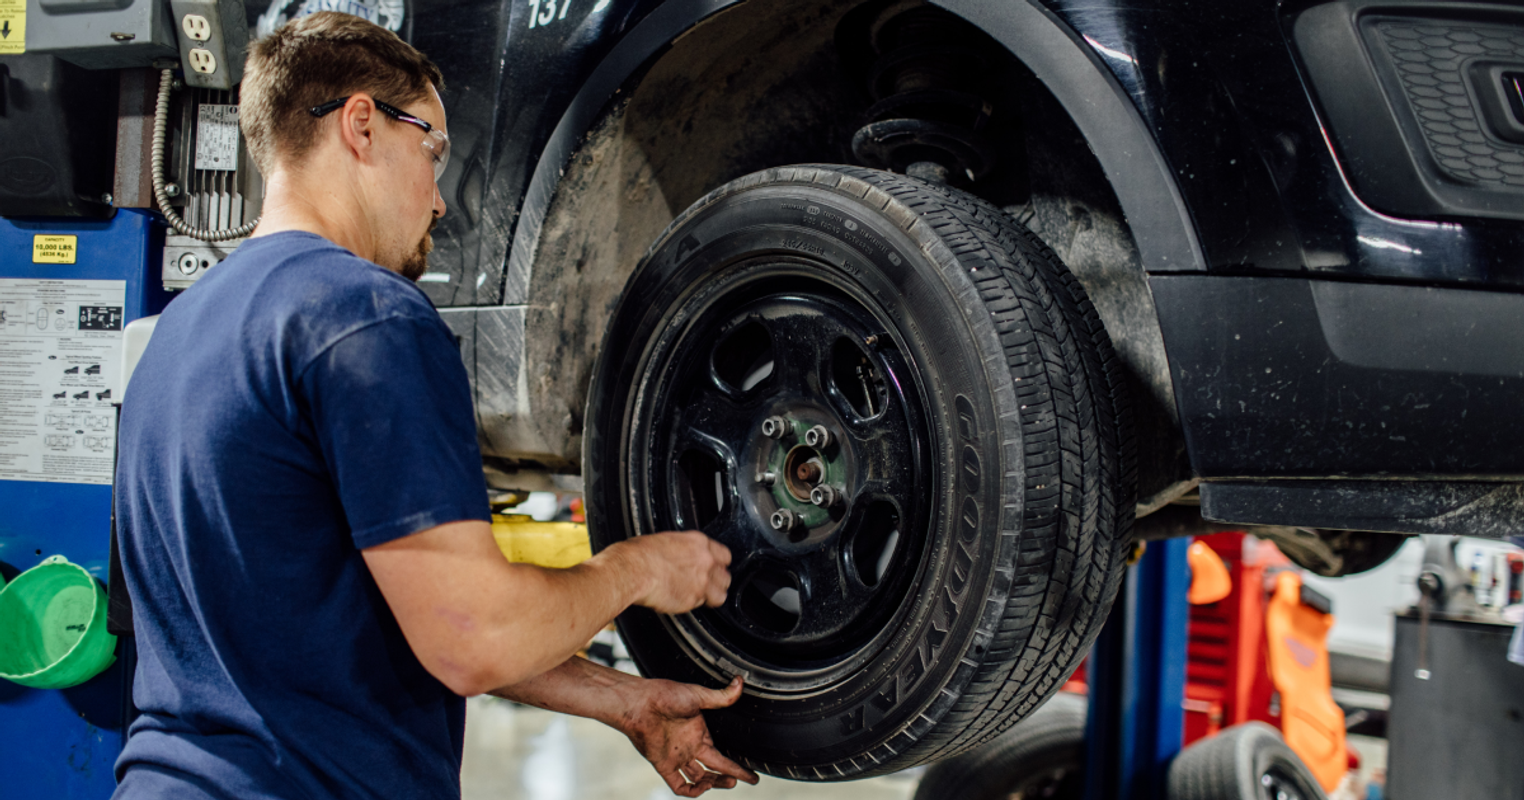
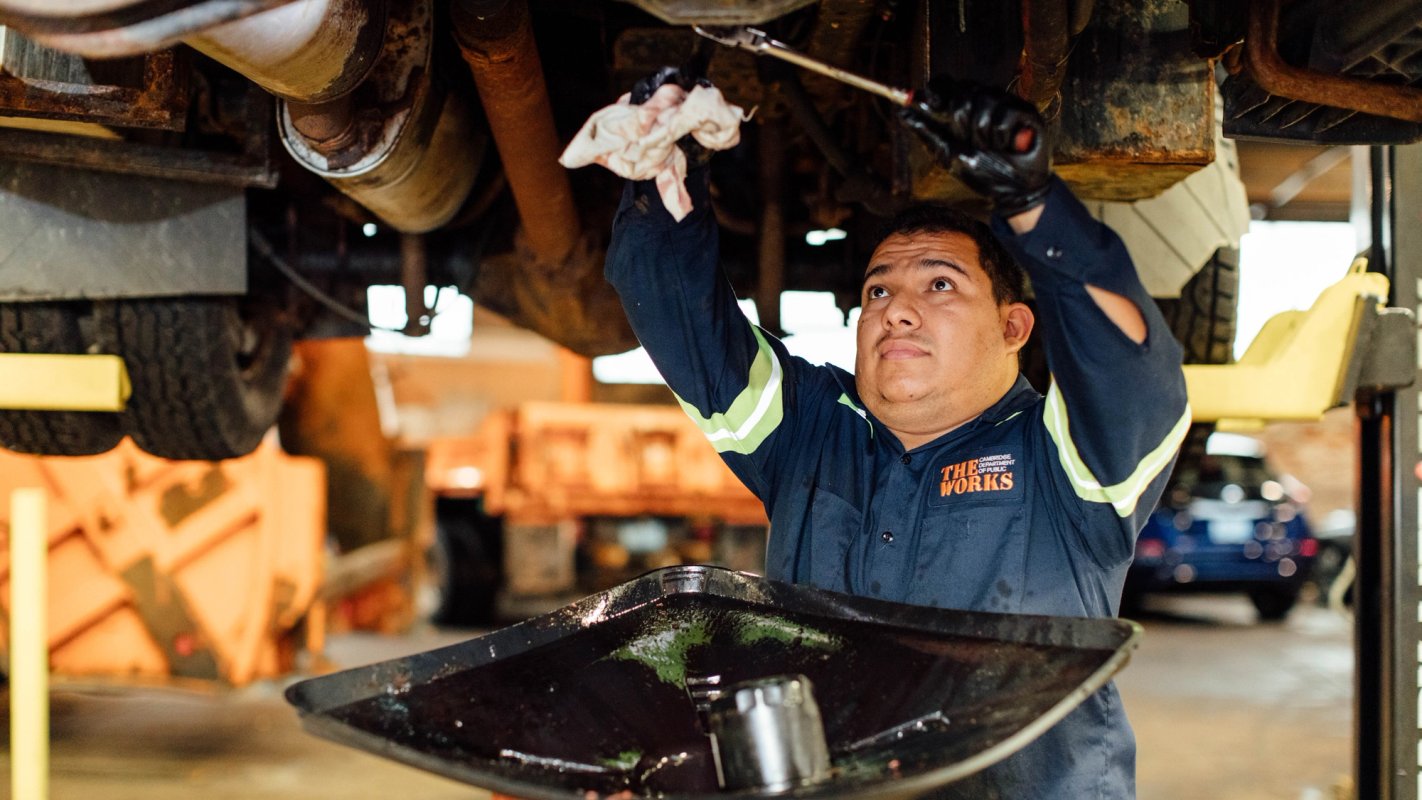
Whether you’re maintaining a single vehicle or an entire fleet, catching rust early can extend the lifespan of your vehicles and help prevent major damage.
Note
If rust has eaten through the metal, a patch panel or professional repair may be required.
In this guide
What to Expect
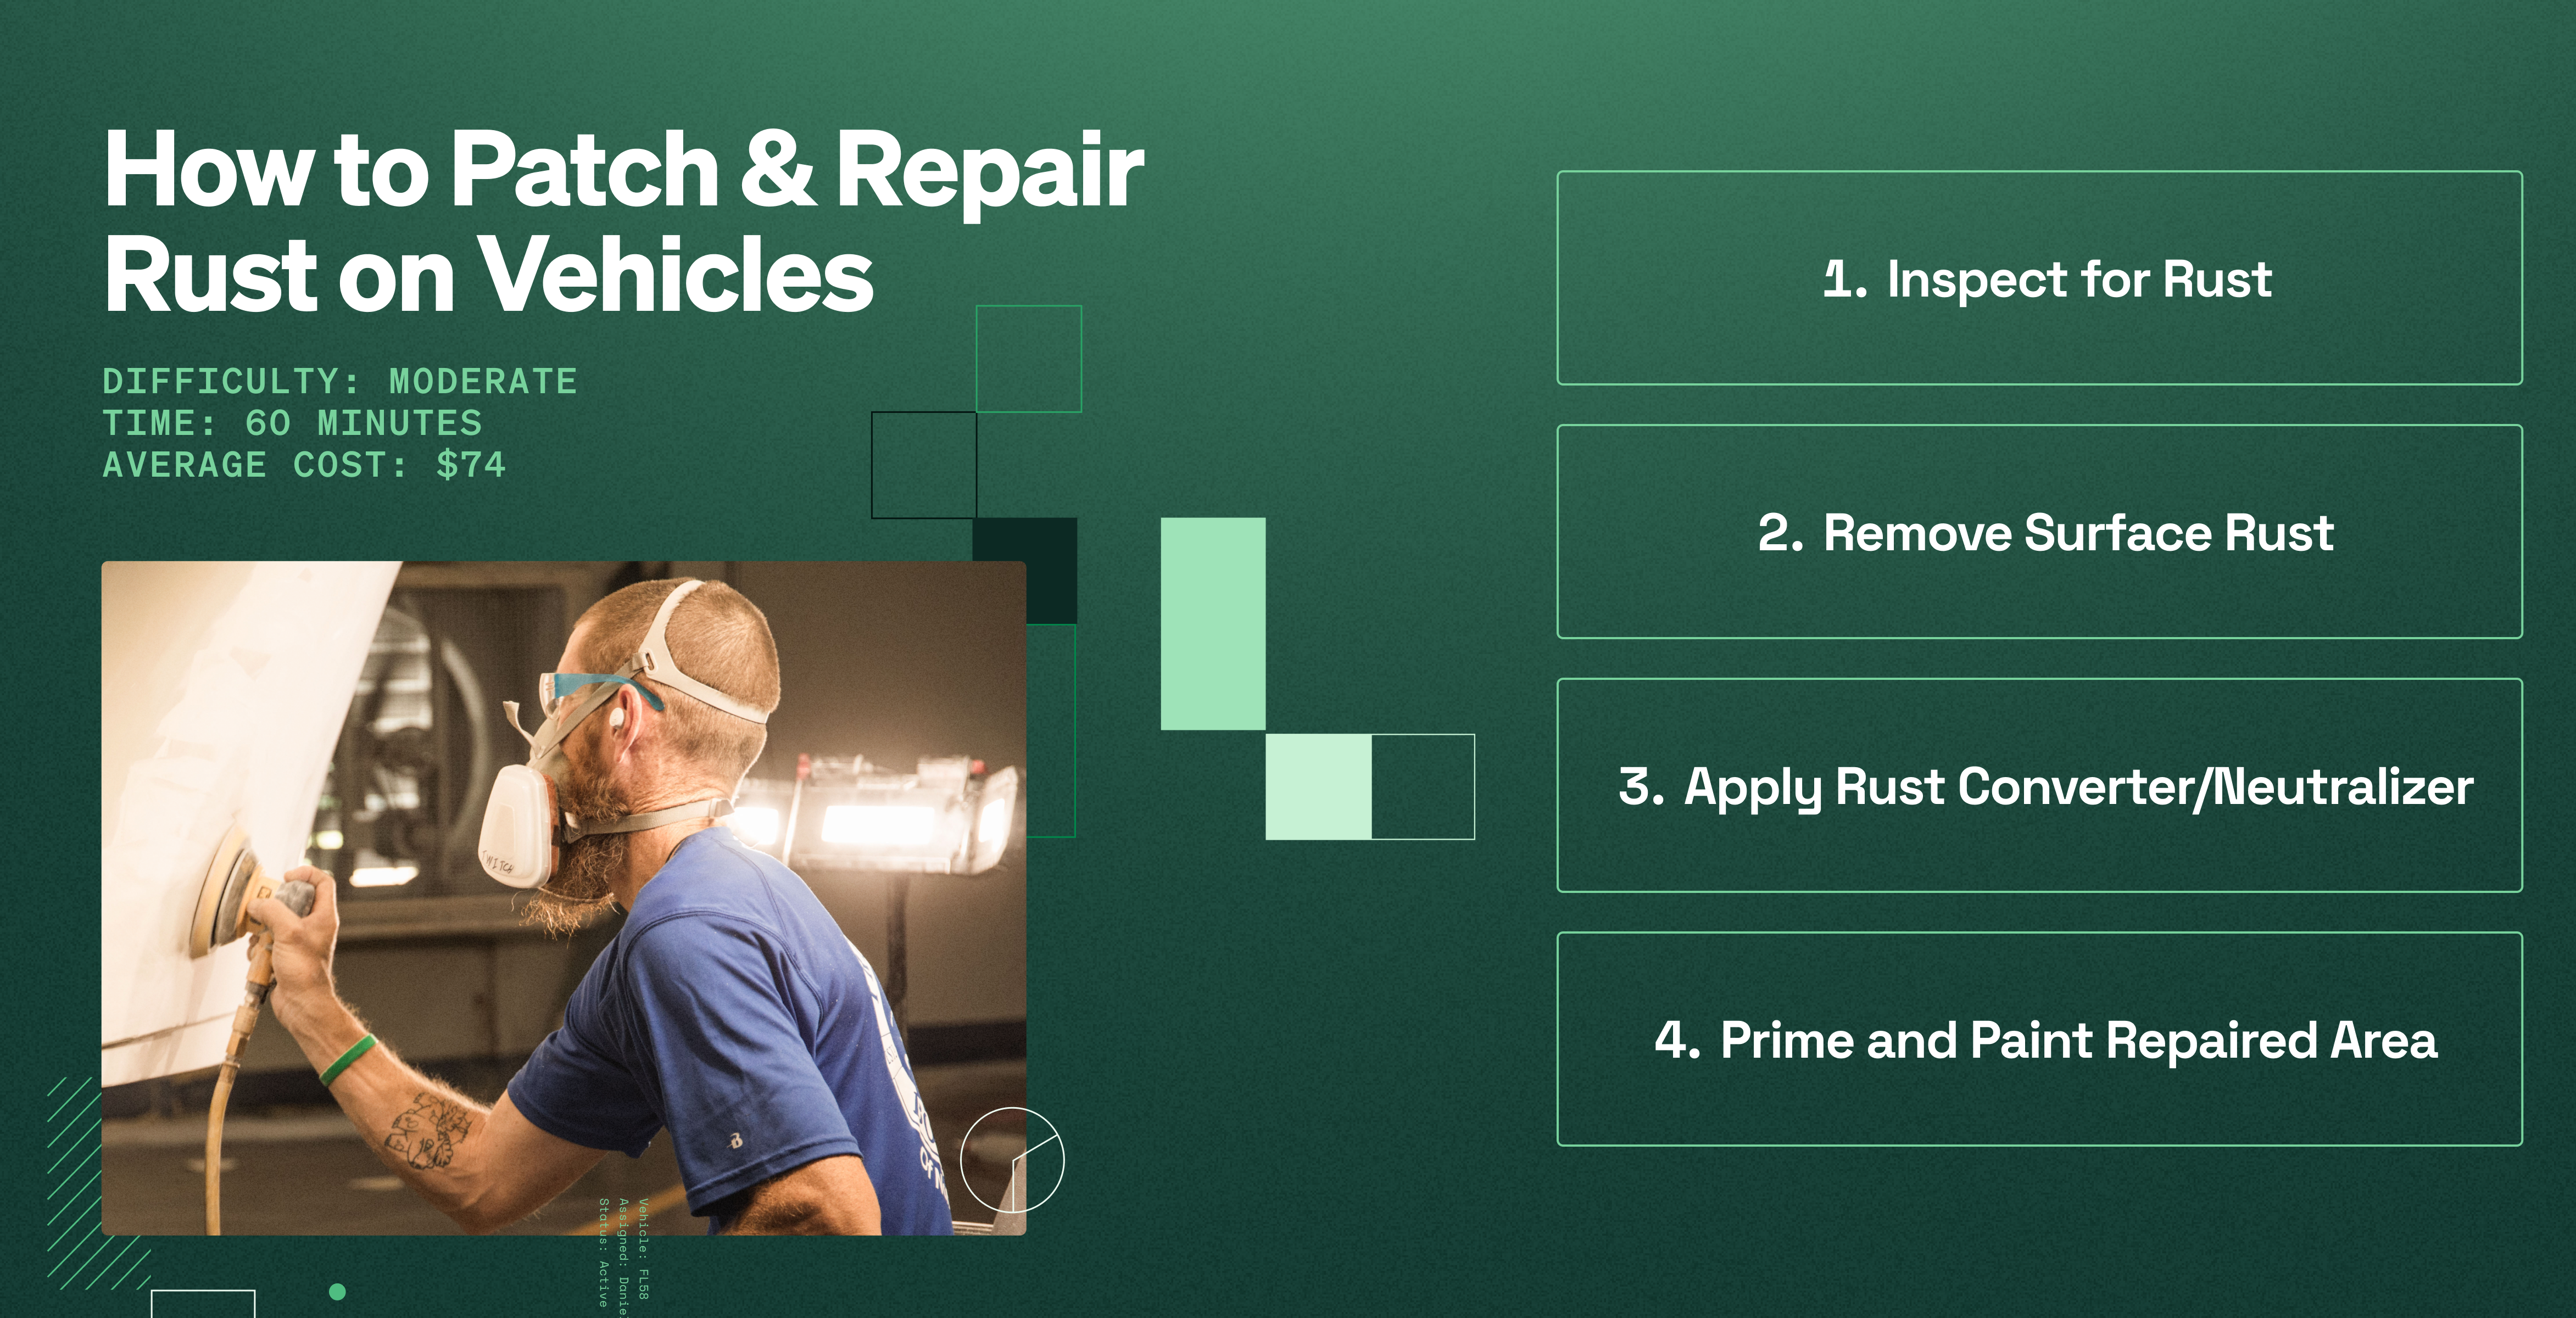
- Time Needed: 30-60 minutes
- Difficulty: Moderate
- Average Cost: $74
Source: 2025 Fleet Benchmark Report
What You’ll Need
Wire brush or rust removal wheel
Sandpaper (80, 220, and 400 grit)
Rust converter or neutralizer
Primer (rust-inhibiting)
Automotive touch-up paint (match vehicle color)
Clear coat (optional for added protection)
Shop rags & gloves
How to Inspect for and Repair Rust on a Vehicle
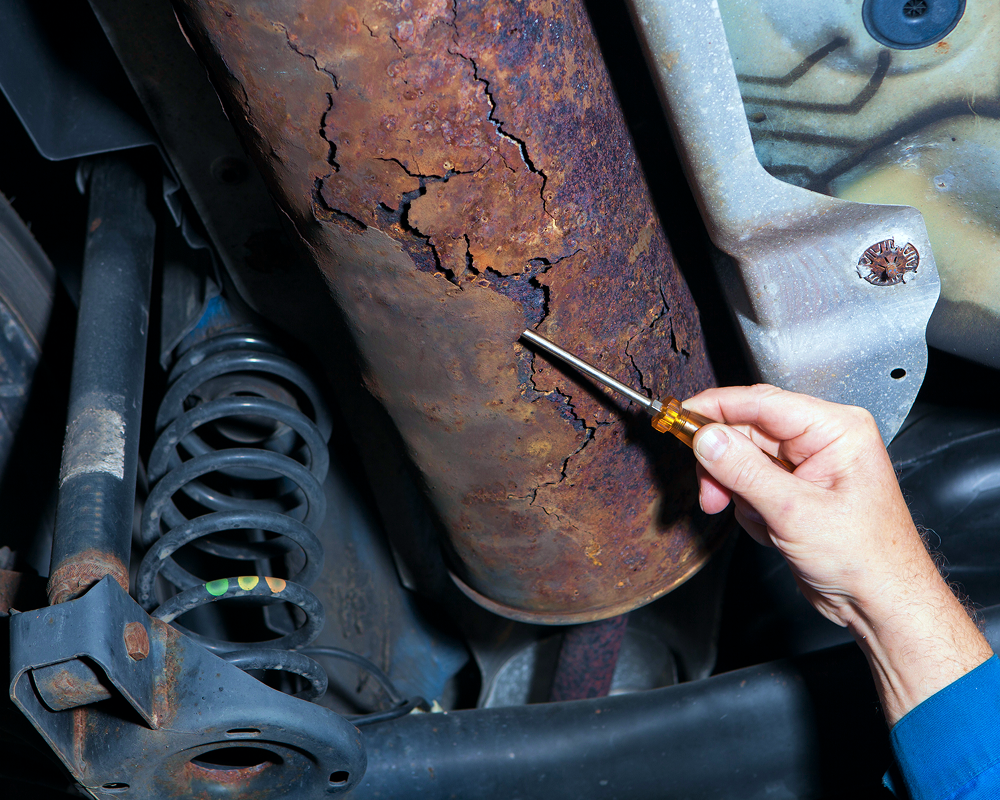
Step 1: Inspect for Rust
- Look for bubbling paint, discoloration, or rough spots—these are signs that rust is forming beneath the surface.
- Check high-risk areas such as wheel wells, door edges, undercarriage, and any areas where paint is chipped.
- Press gently on rusted areas. If the metal feels weak or flakes away, professional repair may be needed.
Step 2: Remove Surface Rust
- Use a wire brush or rust removal wheel to scrub away loose rust and paint.
- Sand the area with 80-grit sandpaper until only bare metal remains.
- Smooth the surface with 220-grit sandpaper to prepare for primer.
Step 3: Apply Rust Converter or Neutralizer
- If rust remains in small pits, apply a rust converter to stop further corrosion.
- Allow the converter to dry per manufacturer instructions before proceeding.
Step 4: Prime and Paint the Repaired Area
- Spray rust-inhibiting primer over the bare metal, covering the entire repaired area.
- Once dry, sand lightly with 400-grit sandpaper for a smooth finish.
- Apply automotive touch-up paint in thin coats, allowing time to dry between layers.
- Finish with a clear coat for added durability (optional).
Avoid These Common Mistakes
- Skipping rust removal before painting. Painting over rust doesn’t stop corrosion. It will continue spreading underneath, eventually causing paint to bubble and flake off.
- Not sealing the repaired area properly. Unprimed metal is vulnerable to rust. Always use rust-inhibiting primer and paint to prevent new corrosion.
- Ignoring rust in hidden areas. Rust often starts in places you can’t see, like inside wheel wells and under the vehicle. Check these areas regularly to catch rust before it spreads.
Track service histories across all fleet assets
Fleetio makes it easy to log rust repairs, track service history, and set automated maintenance reminders, so every vehicle stays in top shape.
Try Fleetio for Free
FAQs
How often should I inspect my vehicle for rust?
Check for rust every few months, especially before and after winter. Road salt and moisture increase the risk of corrosion.
Can I repair rust myself, or do I need a professional?
Small surface rust spots can be repaired at home, but if rust has eaten through the metal, it may require welding or panel replacement by a professional.
What causes rust on vehicles?
Rust forms when metal is exposed to oxygen and moisture. Common causes include road salt, humidity, and chipped paint that exposes bare metal.
How much does rust repair cost?
DIY rust repair costs $20 to $100 for supplies. Professional rust repair ranges from $100 to $1,000, depending on severity.
How can I prevent rust from coming back?
Wash your vehicle regularly, apply wax or ceramic coating, and touch up paint chips quickly. Rust-proofing sprays or undercoating can also help.