How To
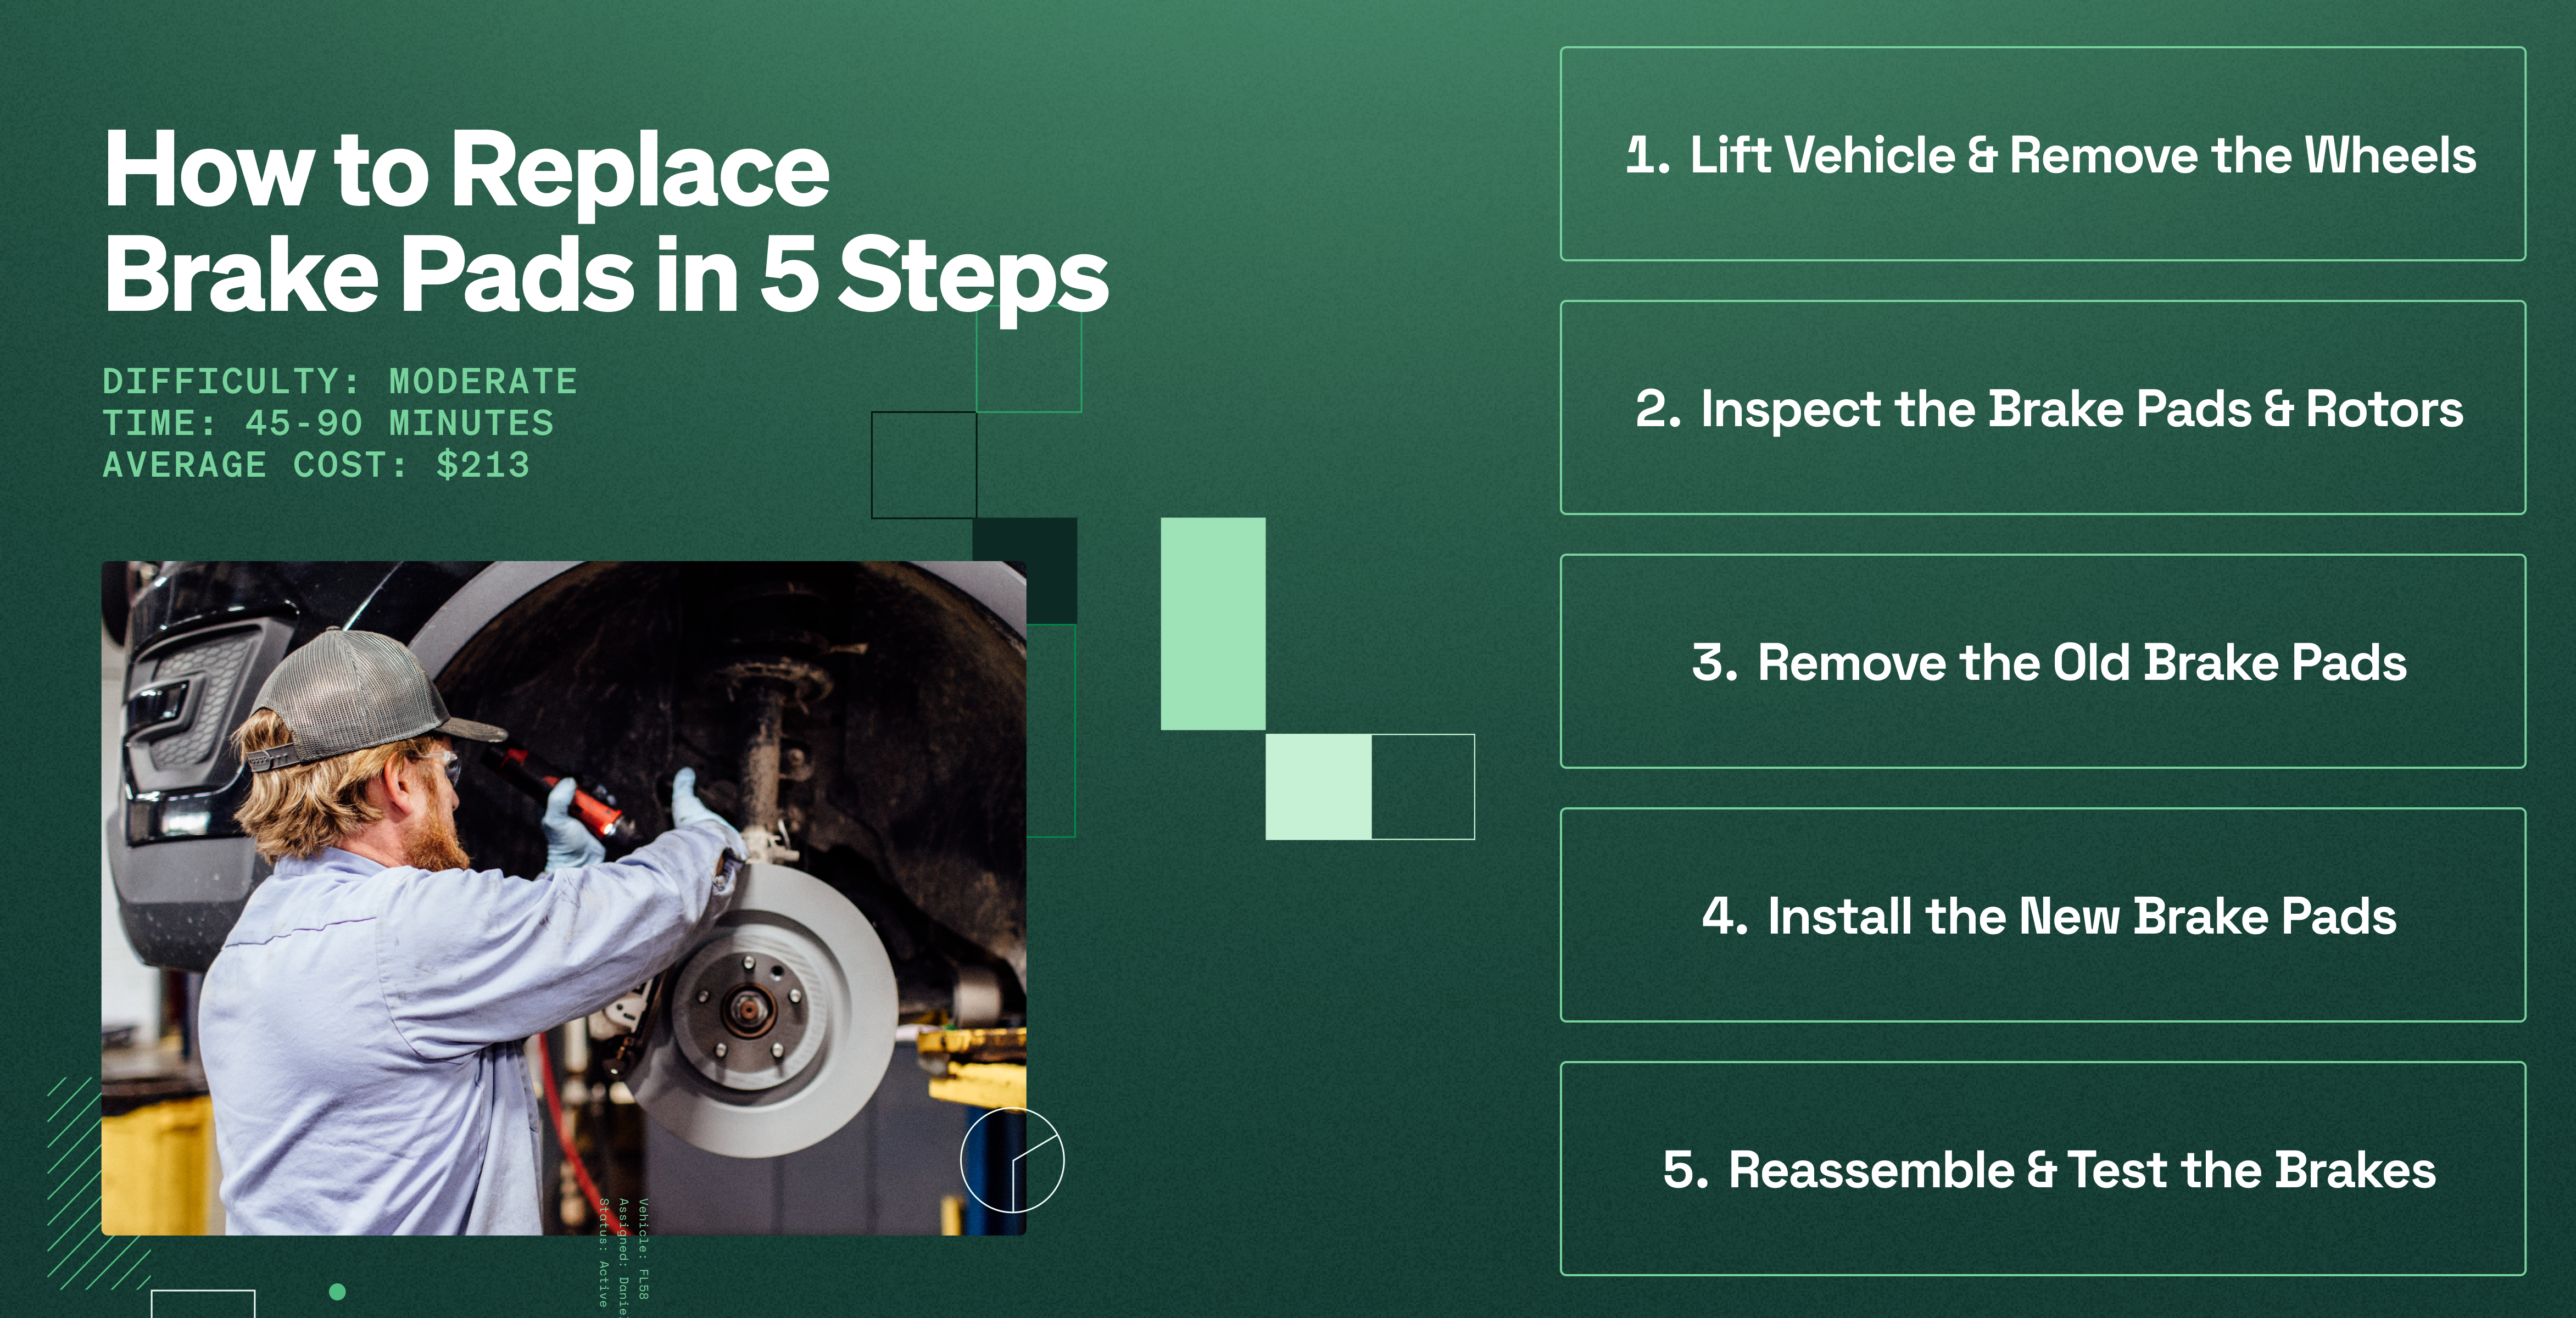
How to Inspect and Replace Brake Pads: A Step-by-Step Guide

Regular brake inspections and timely replacements are essential for safe driving. This applies whether you're taking care of your personal vehicle or managing a whole fleet.
Note
Always refer to your owner’s manual for the correct brake pad type and torque specifications for your vehicle.
What to Expect
- Time Needed: 45-90 minutes
- Difficulty: Moderate
- Average Cost: $213
Source: 2025 Fleet Benchmark Report
What You’ll Need
New brake pads (check manual for correct type)
Hydraulic lift or jack stands
Lug wrench
Socket set and ratchet
C-clamp or brake caliper tool
Brake cleaner
Shop rags and gloves
How to Inspect and Replace Brake Pads
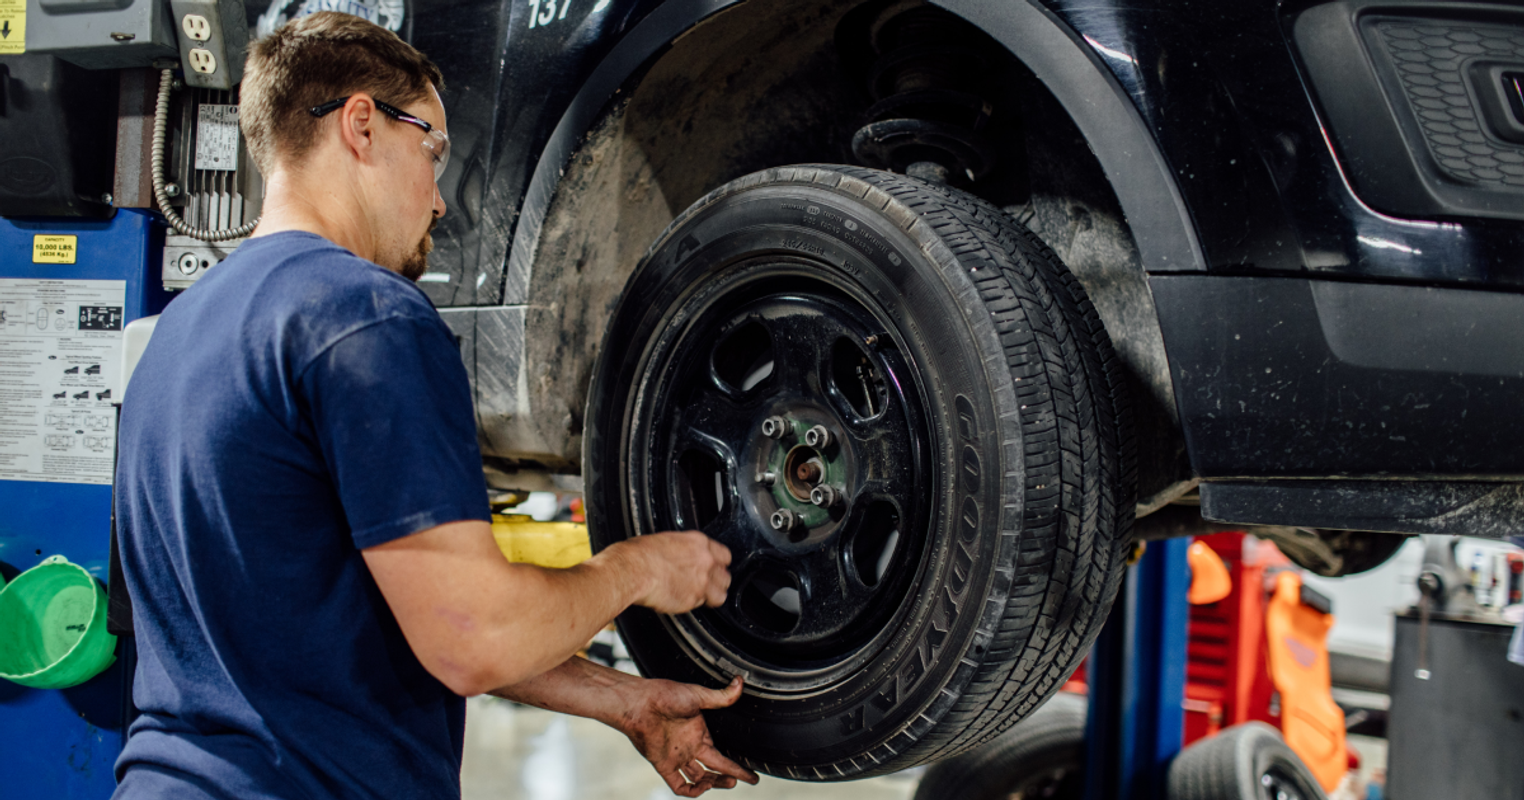
Step 1: Lift the Vehicle and Remove the Wheels
- Park on a flat surface and make sure to engage the parking brake.
- Loosen the lug nuts slightly, then lift the vehicle with a hydraulic lift or jack and secure it on jack stands.
- Fully remove the lug nuts and wheels to access the brake components.
Step 2: Inspect the Brake Pads and Rotors
- Look at the brake pad thickness. If less than ¼ inch, it's time for replacement.
- Check the rotors for grooves, scoring or uneven wear. If heavily worn, they may need resurfacing or replacement.
Step 3: Remove the Old Brake Pads
- Locate the bolts on the brake caliper and remove them with a socket wrench.
- Carefully slide the caliper off the rotor and rest it on the suspension (don't let it hang by the brake line).
- Remove the old brake pads from the caliper bracket.
Step 4: Install the New Brake Pads
- Use a C-clamp or brake caliper tool to compress the caliper piston back into its housing.
- Insert the new brake pads into the caliper bracket.
- Reinstall the caliper and tighten the bolts to the manufacturer's torque specifications.
Step 5: Reassemble and Test the Brakes
- Put the wheel back on the vehicle and tighten the lug nuts by hand.
- Lower the vehicle and fully tighten the lug nuts in a star pattern.
- Pump the brake pedal several times while the car is in park to restore pressure before testing on a safe, flat surface.
Avoid These Common Mistakes
- Not properly seating the new brake pads. Failing to align brake pads correctly can cause uneven wear or reduce braking performance. Ensure they sit flush against the rotor before reassembly.
- Skipping the brake fluid check. Worn brake pads increase brake fluid use. If you don’t check and top off the fluid, you risk poor braking performance or brake failure.
- Forgetting to pump the brakes after installation. After replacing brake pads, the brake pedal will feel soft until the pads seat properly. Pump the brakes a few times before driving to restore full stopping power.
Track service histories across all fleet assets
Fleetio makes it easy to log brake inspections, track service history, and set automated maintenance reminders so you never miss a critical repair.
Try Fleetio for Free
FAQs
How do I know if my brake pads need replacing?
Your pads may be worn if you hear squeaking, grinding, or feel vibrations while braking. Visually inspect them, and if they're less than ¼ inch thick, replace them.
What happens if I don’t replace worn brake pads?
Driving on worn pads can damage your rotors and calipers, leading to expensive repairs. Worse, it increases stopping distance and reduces safety.
How often should I check or replace my brake pads?
Most brake pads last 30,000 to 70,000 miles, but driving habits and conditions impact wear. Fleet vehicles should be inspected more frequently.
How much does it cost to replace brake pads?
DIY brake pad replacement costs $30 to $150 per axle. Depending on labor costs and parts quality, a shop may charge $150 to $300 per axle.
Can I replace my brake pads myself?
Yes! Most brake pad replacements can be done at home with basic tools and a safe workspace. If you're unsure, have a professional inspect them.